Process
Every piece starts the same way — as a rough idea sketched between two architecture jobs. What happens after that takes days, several pairs of hands, and a kiln that has the final word.
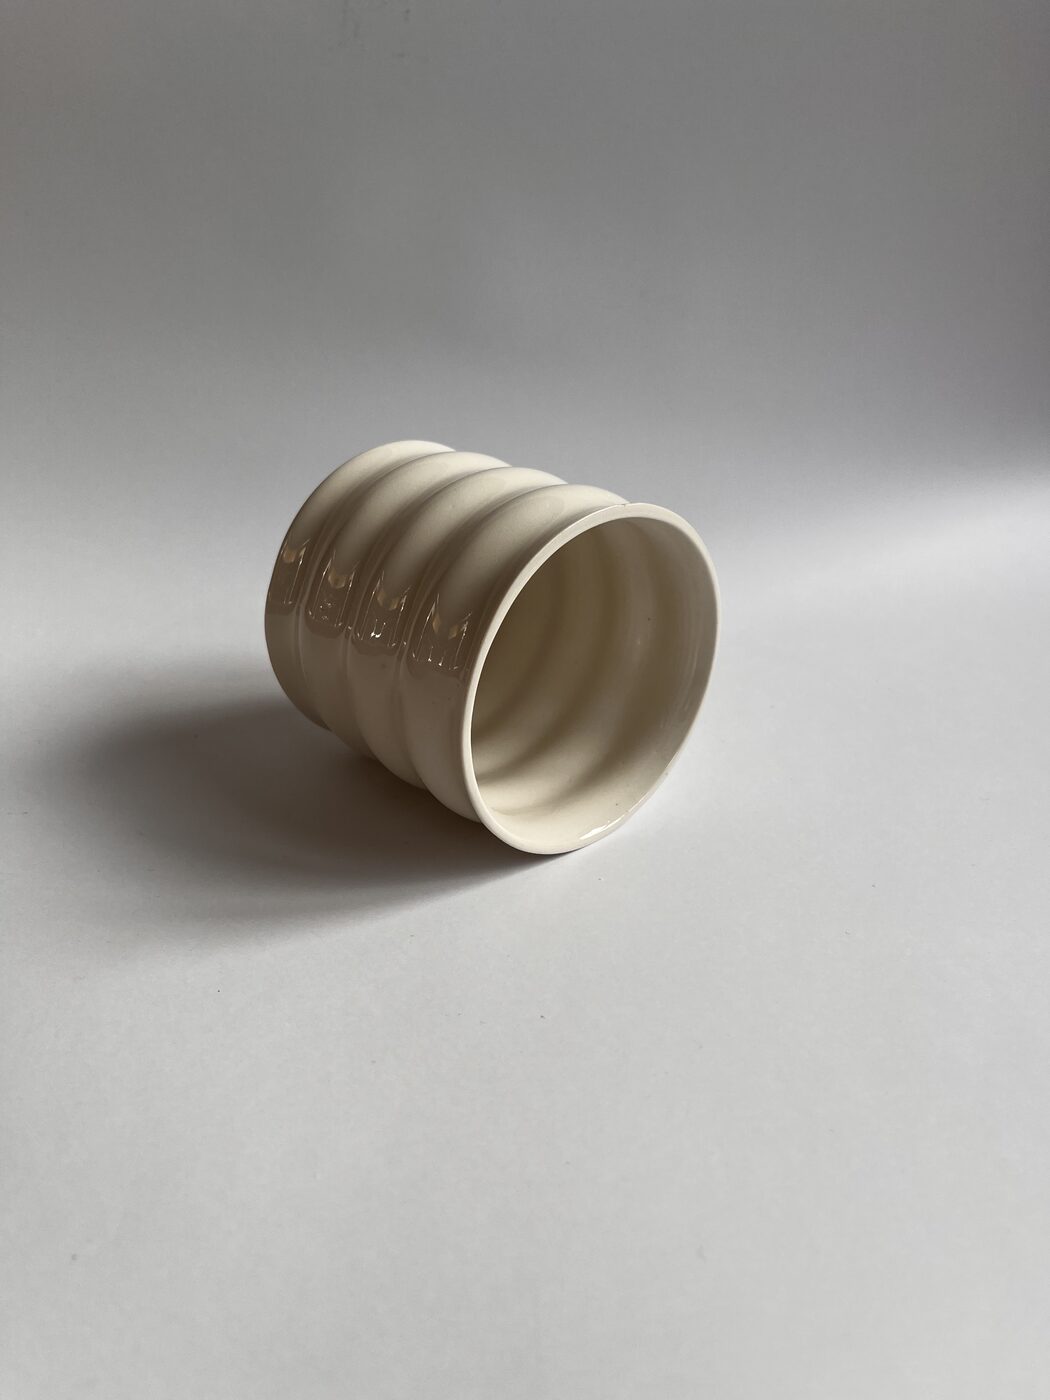
Every shape begins with a plaster mould, built from an initial sketch. Liquid porcelain slip is cast into it, or the form is thrown by hand on the wheel — the geometric facets that run through the collection are added at this stage, while the porcelain is still soft enough to carve.
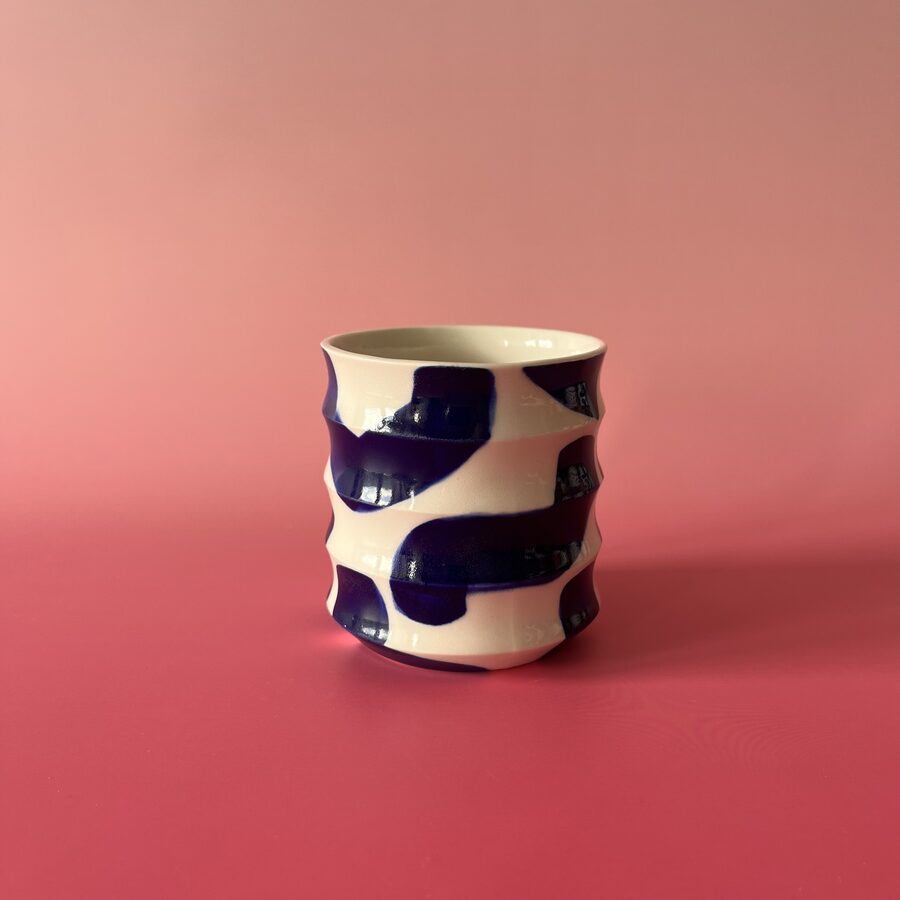
Once bisque-fired and cooled, each piece is dipped or hand-painted with glaze. This is the least predictable step — the same glaze can look completely different depending on thickness, the porcelain underneath, and the exact spot it sits in the kiln.
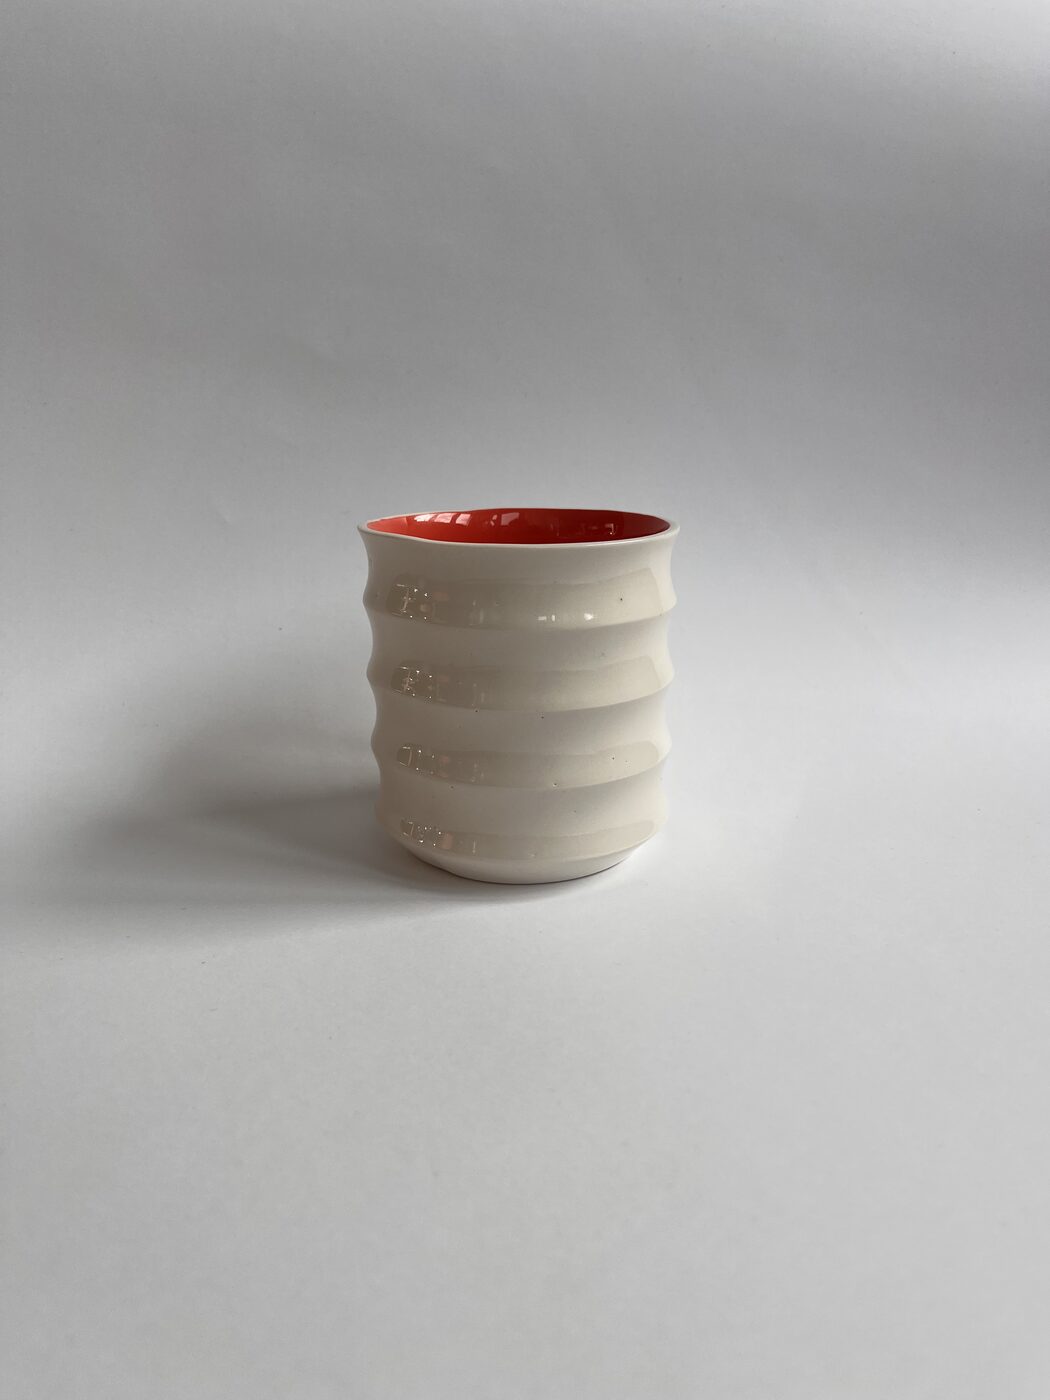
The final firing runs at over 1200°C and takes the better part of a day, including cooling. Porcelain shrinks as it fires — up to 12% — which is part of why no two pieces, even from the same mould, ever end up perfectly identical.
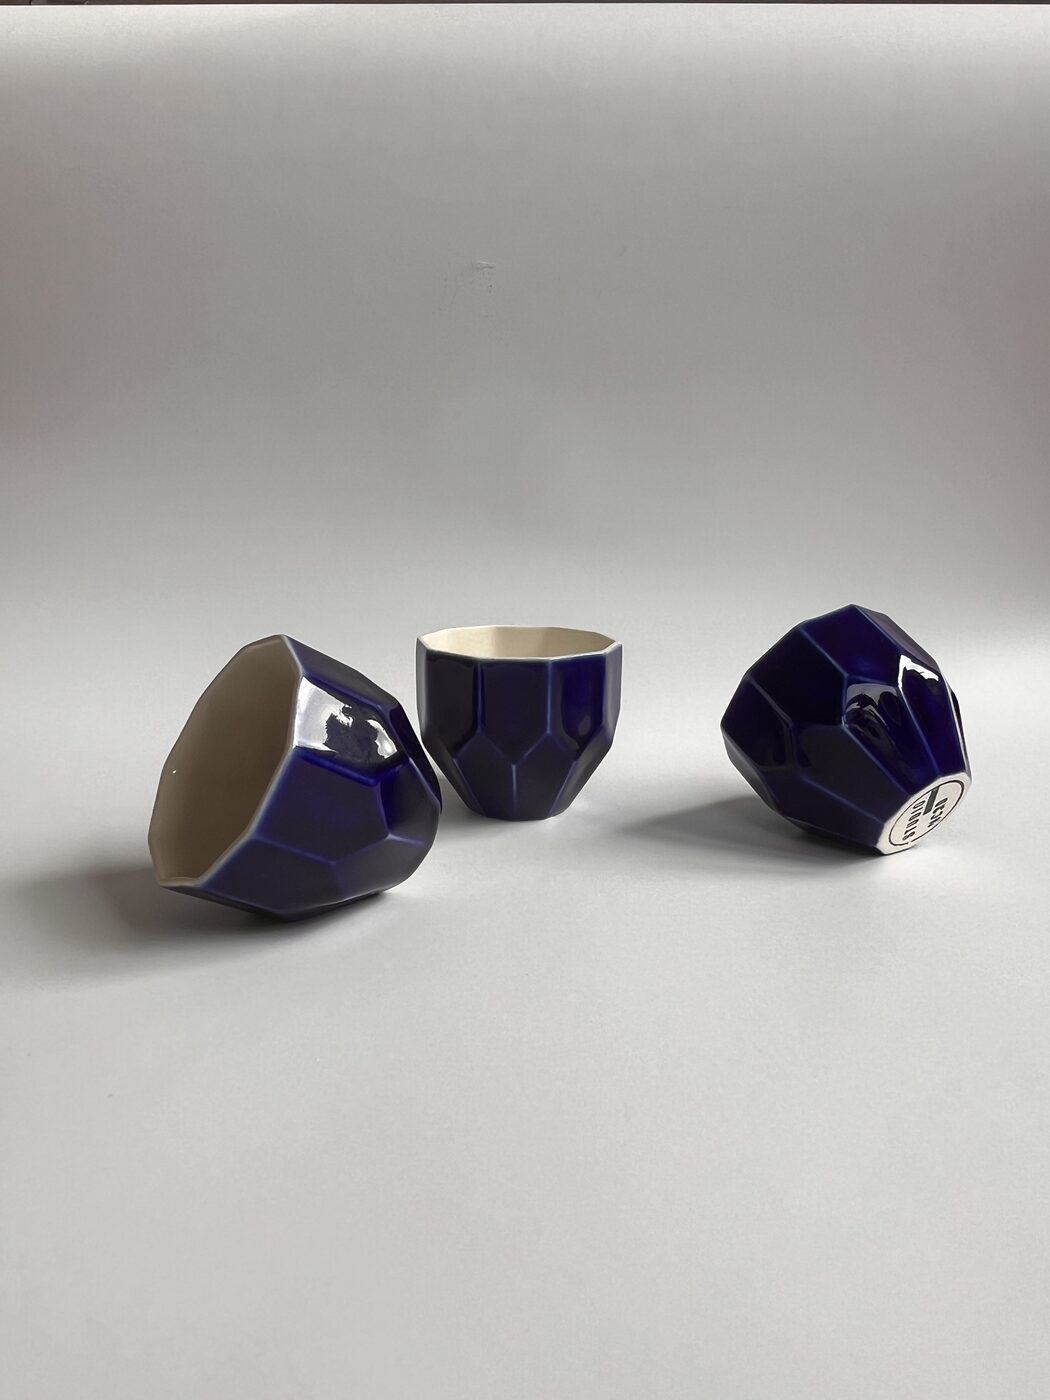
Every piece is inspected, sanded smooth on the base, and stamped with the Studio Nord mark before it's photographed and listed. Small batches, made between full-time jobs — which is also why new pieces tend to arrive a few at a time, not all at once.
© Studio Nord Ceramic — all images · Impressum · Datenschutz
studionordceramic@gmail.com